Monetization
Unity Ads
The kit provides a rewarded ad button in the level scene that allows the player to earn some extra coins after completely watching an ad provided by Unity Ads. Please make sure to become familiar with how Unity Ads works by reading this guide first.
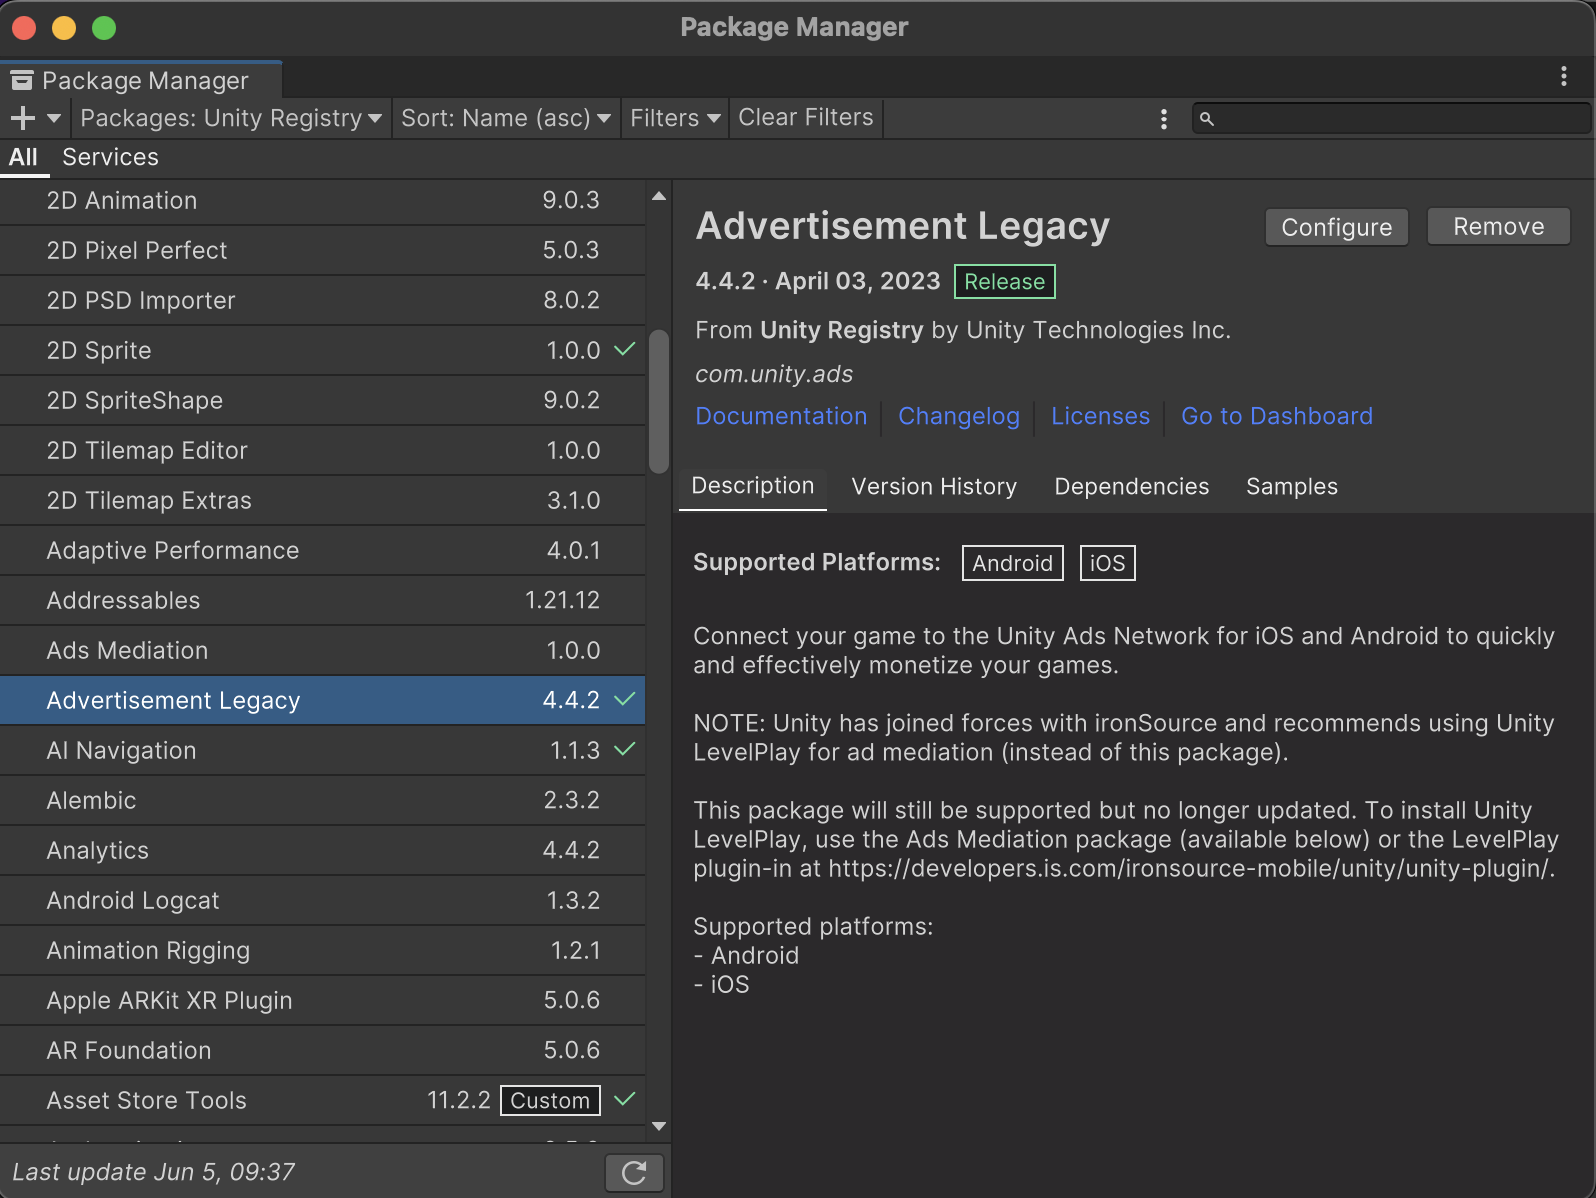
The Unity Ads integration provided by the kit needs to be enabled by you. In order to do so, the first thing you need to do is to install the Advertisement Legacy package from the Package Manager:
Then, you need to add the UNITY_ADS preprocessor define to the Scripting Define Symbols in your Player Settings:

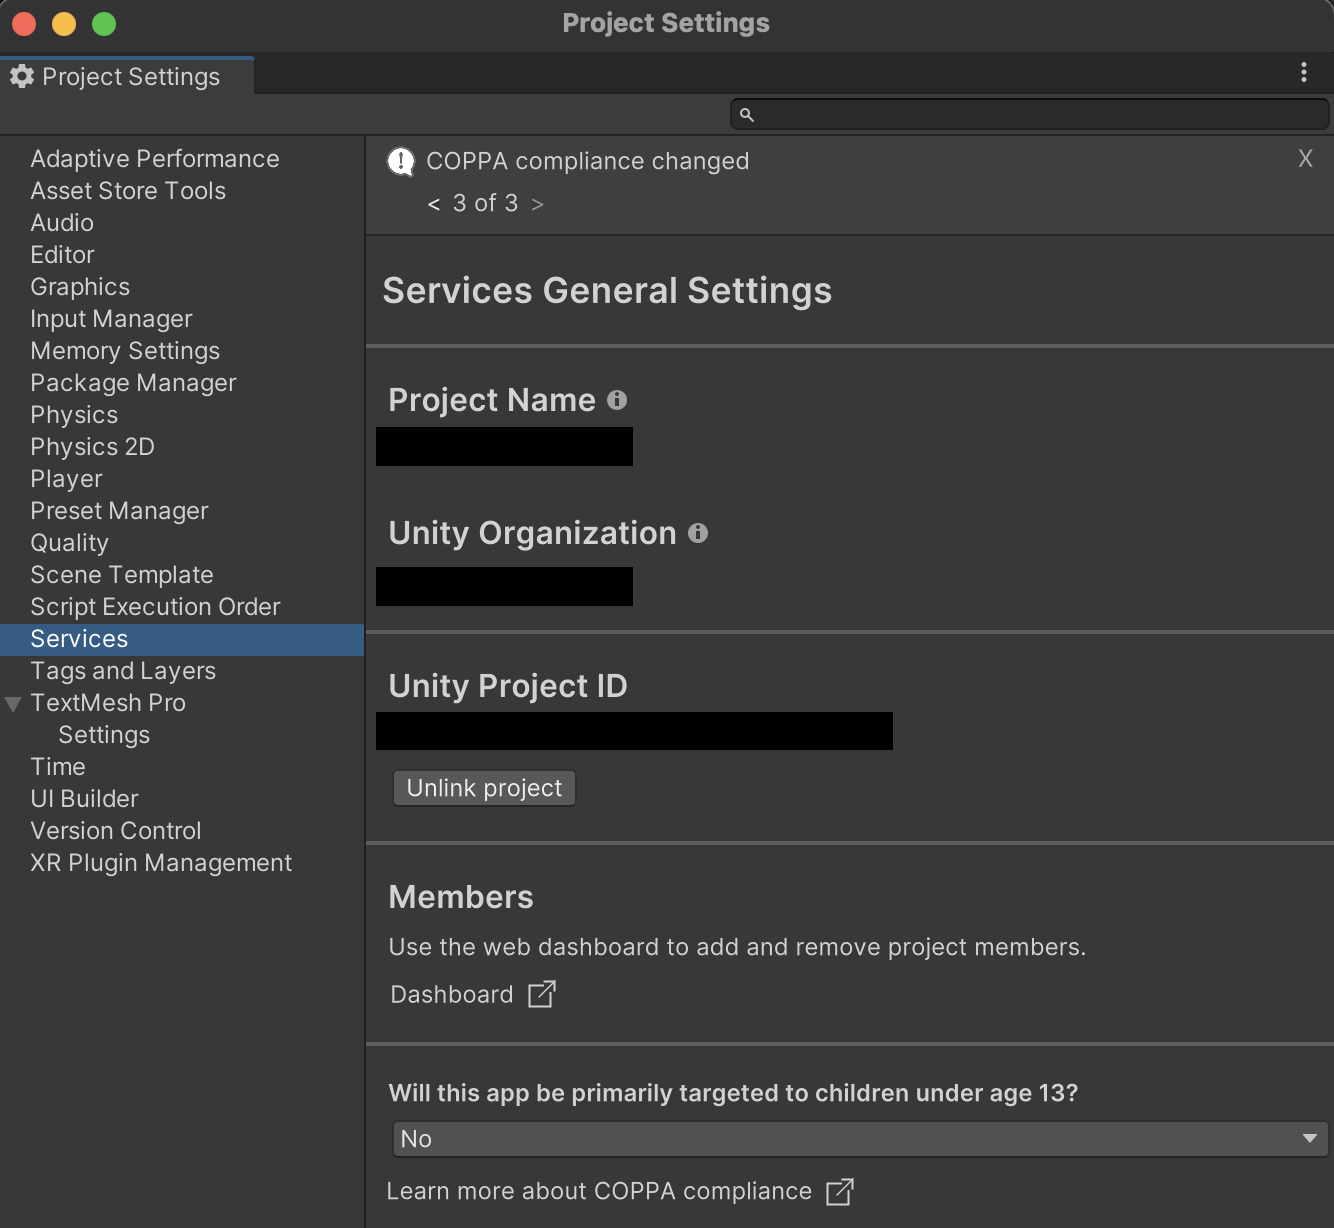
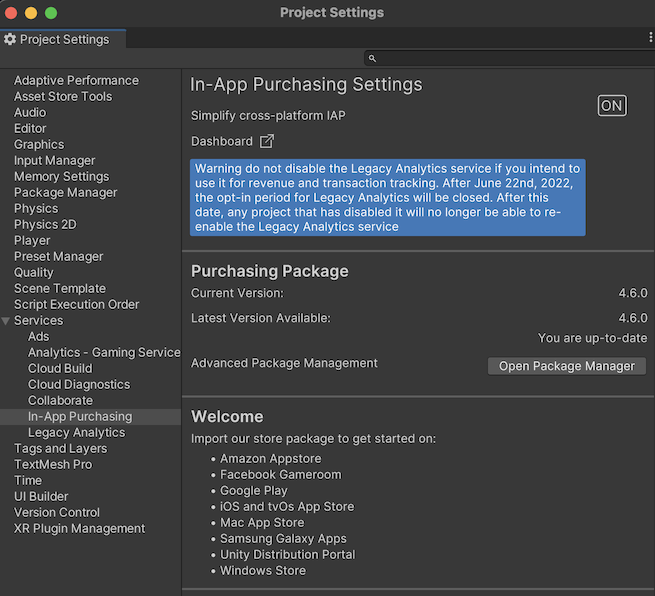
Then, you need to link your Unity project to Unity Gaming Services from your Project Settings:
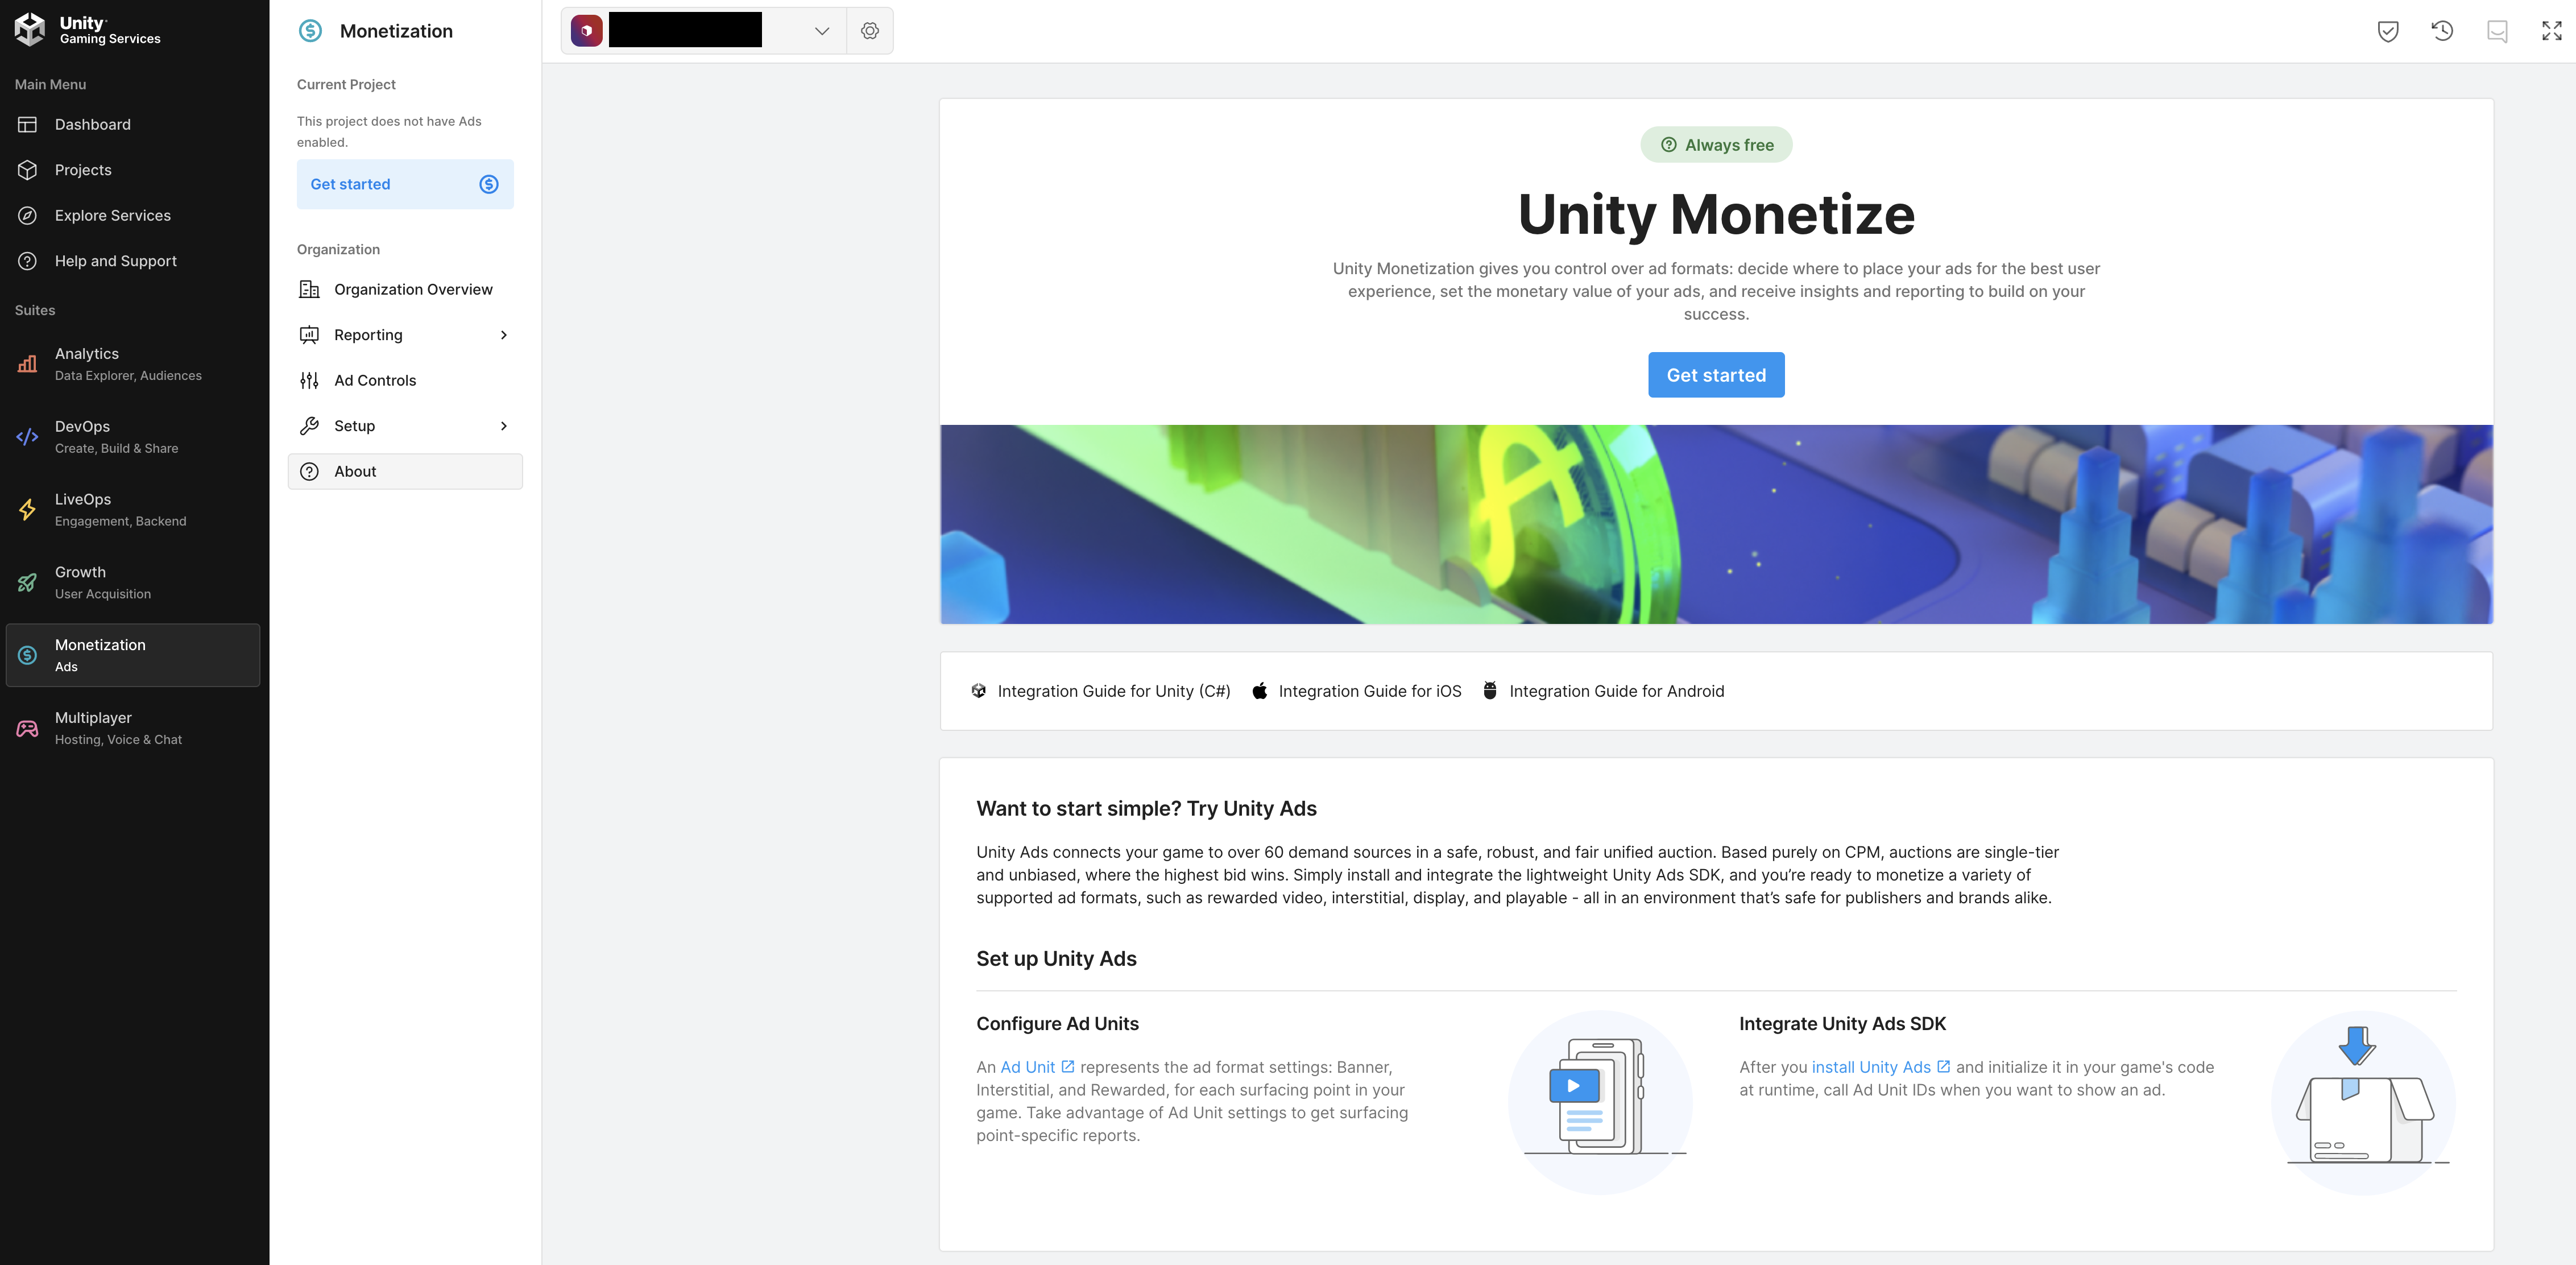
At this point, you can access the Unity Dashboard with your organization and configure your project for Unity Ads by accessing the Monetization section on the left column and pressing the Get started button:
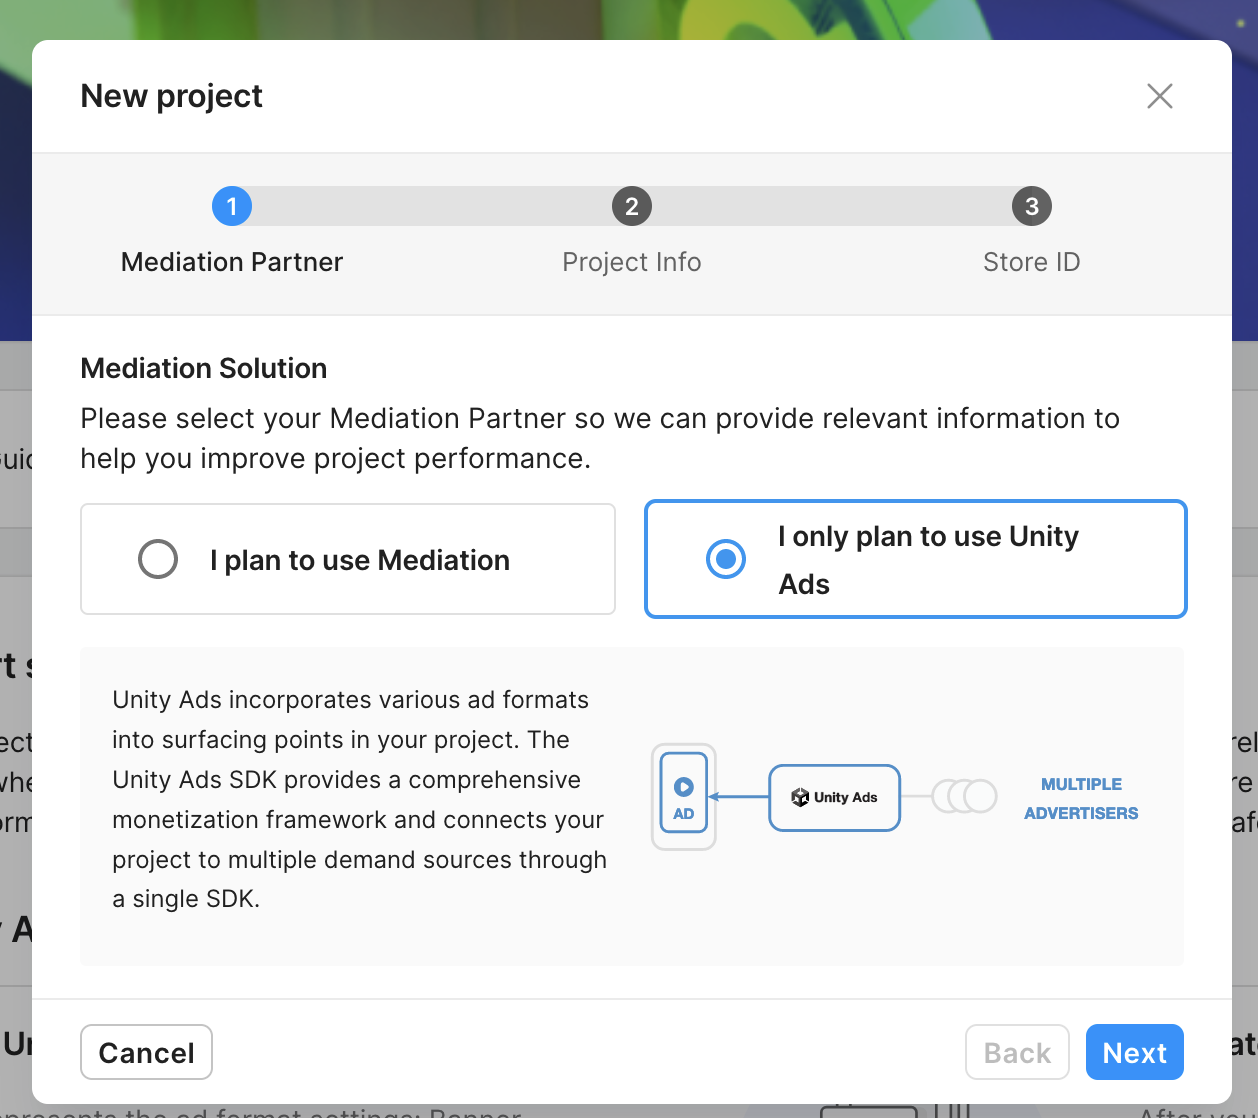
Select the I only plan to use Unity Ads option in the popup that will appear:
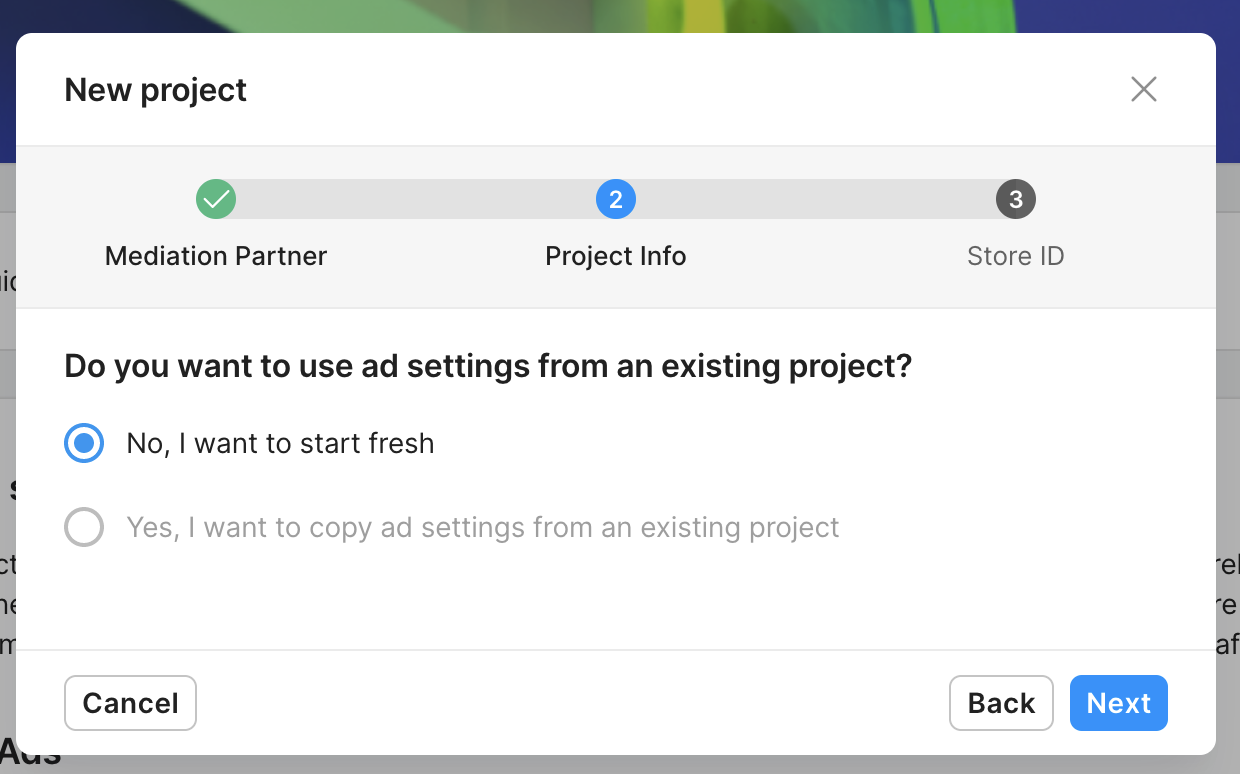
Select the No, I want to start fresh option:
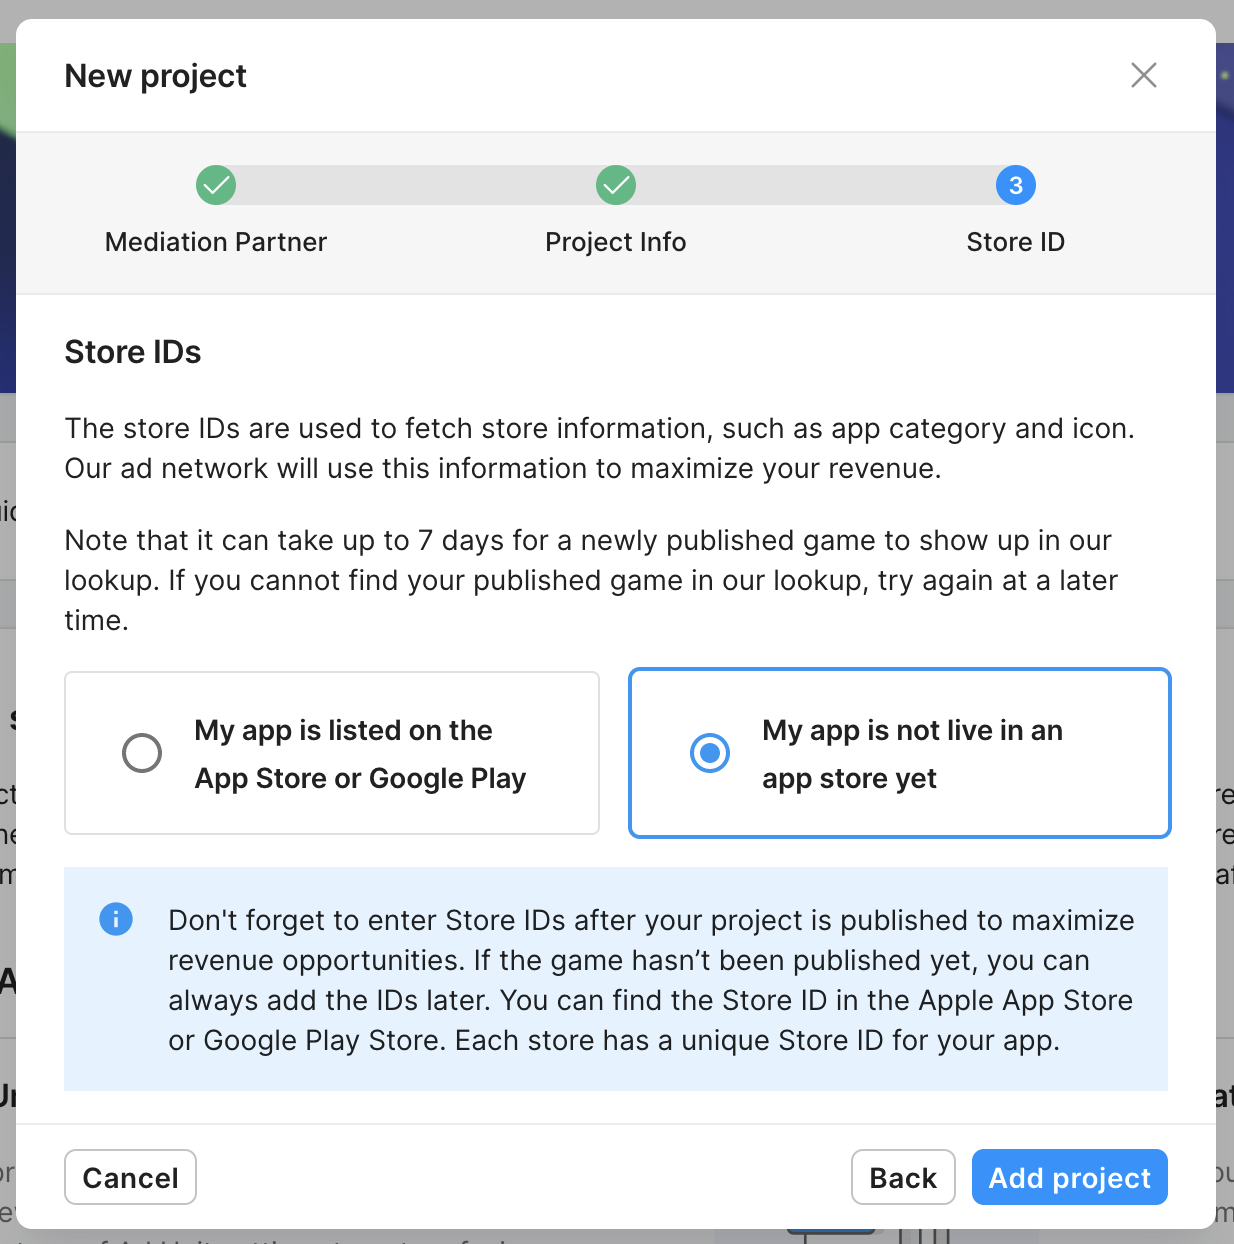
Choose the relevant option depending on whether your app is already listed on the App Store/Google Play or not:
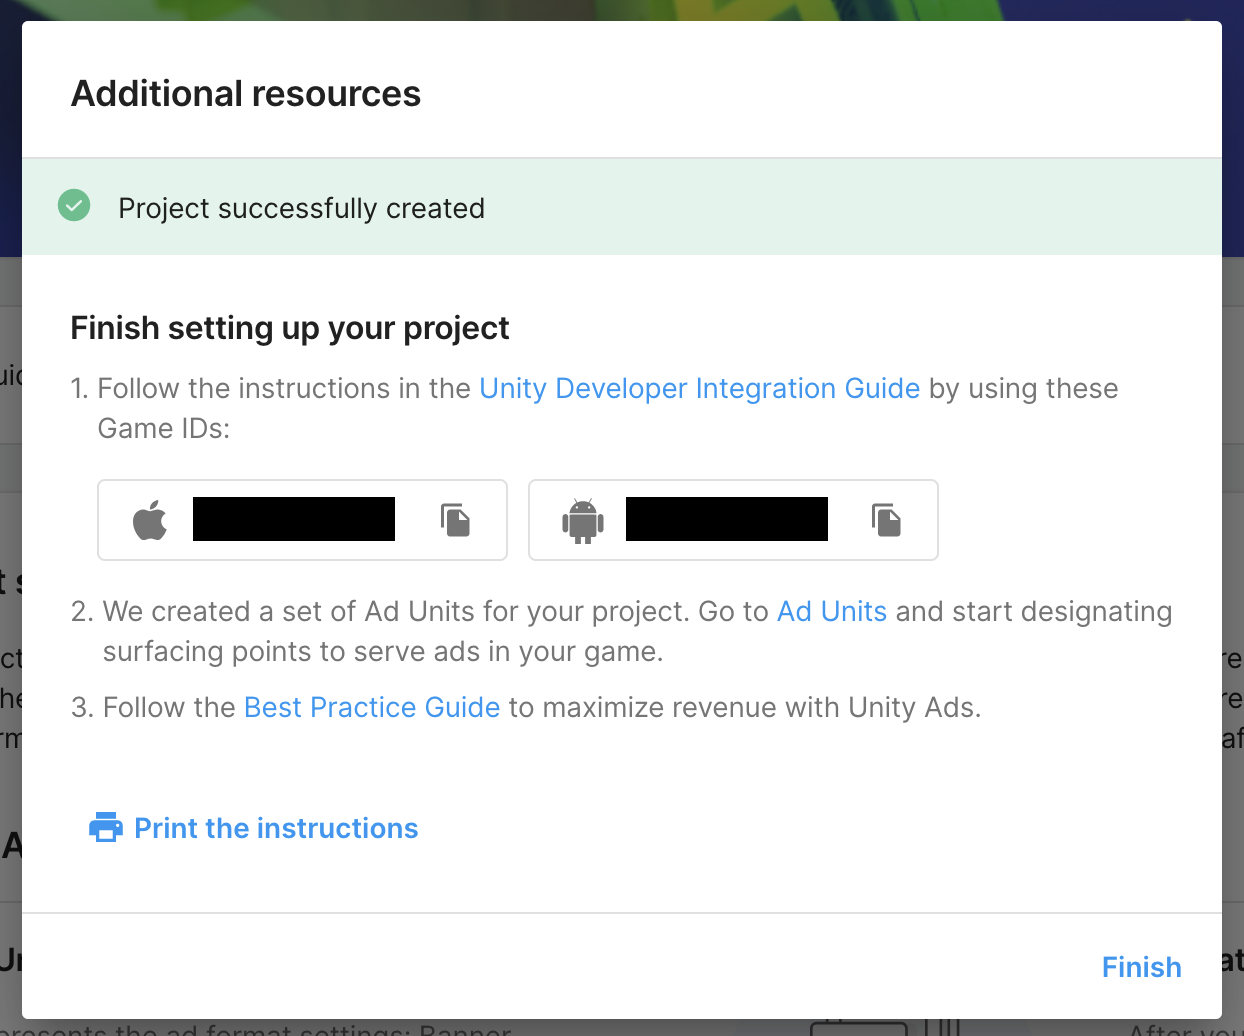
Finally, the Unity Ads game IDs are automatically generated. You will need them for the final step of the configuration:
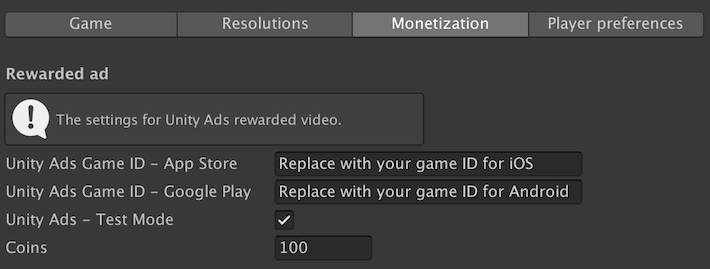
There are several settings related to Unity Ads that you also need to set from the Candy Match 3 Kit editor (Tools/Candy Match 3 Kit/Editor). Go to the Game settings tab and open the Monetization sub-tab. In the Rewarded ad section you can find the following settings:
- Unity Ads Game ID - App Store: The Unity Ads game ID for the App Store. This value is unique to your game and you need to retrieve it from your Developer Dasboard.
- Unity Ads Game ID - Google Play: The Unity Ads game ID for Google Play. This value is unique to your game and you need to retrieve it from your Developer Dasboard.
- Unity Ads - Test mode: Enabled by default, this is useful for testing the Unity Ads integration works correctly before publishing your game. Make sure to disable it once you have confirmed test mode works and you are ready to publish your game.
- Coins: The number of coins to reward the player with.
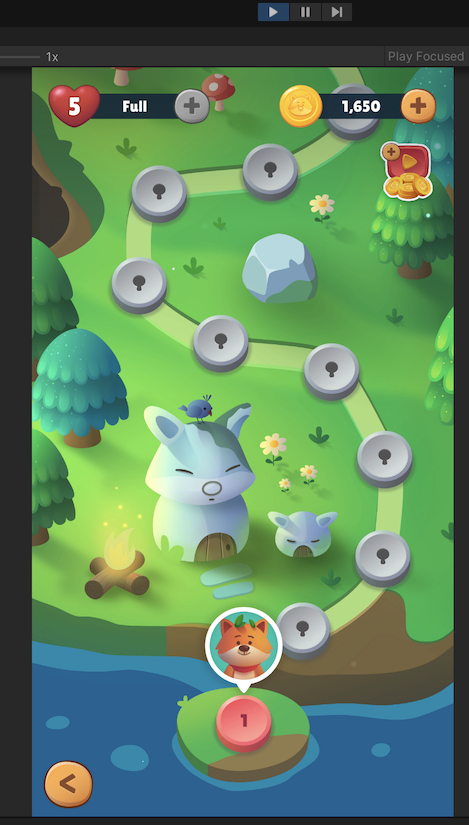
With Unity Ads correctly configured, you can now go to the level screen and press the rewarded ad button on the top right corner:
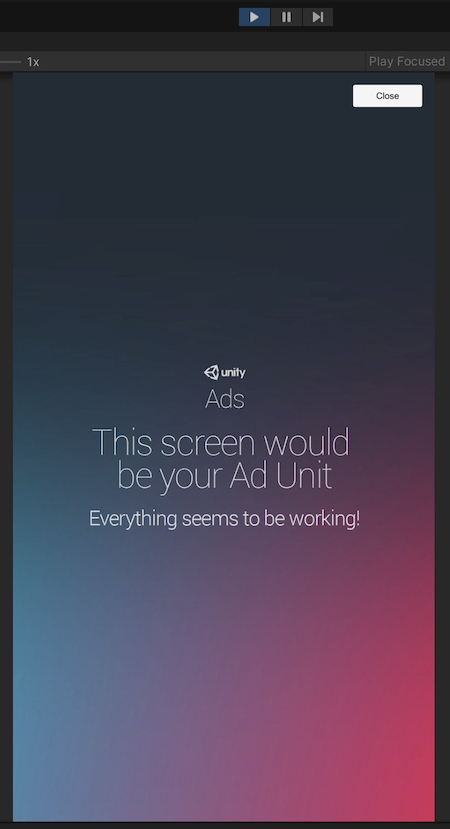
A test ad will appear on the screen confirming the integration works:
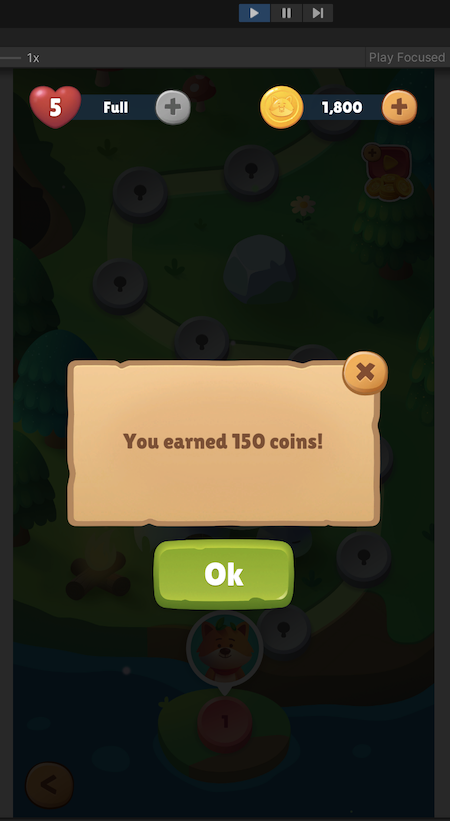
And, finally, you will get your reward in coins:
Unity IAP
The kit provides a coins shop with in-app purchasable packs of coins using Unity IAP. The Unity IAP integration provided by the kit needs to be enabled by you. In order to do so, please follow the official guide available here.
Once you have installed the Unity IAP package and service in your project, please follow these steps:
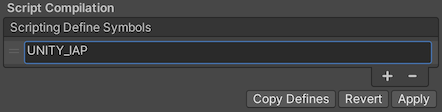
- Add the UNITY_IAP preprocessor define to the Scripting Define Symbols in your Player Settings.
- With Unity IAP now properly configured for your project, you can now tweak the available in-app purchasable items from the Bubble Shooter Kit editor (Window/Bubble Shooter Kit/Editor). Go to the Game settings tab and open the Monetization sub-tab. You can edit the settings of your items in the In-app purchases category.
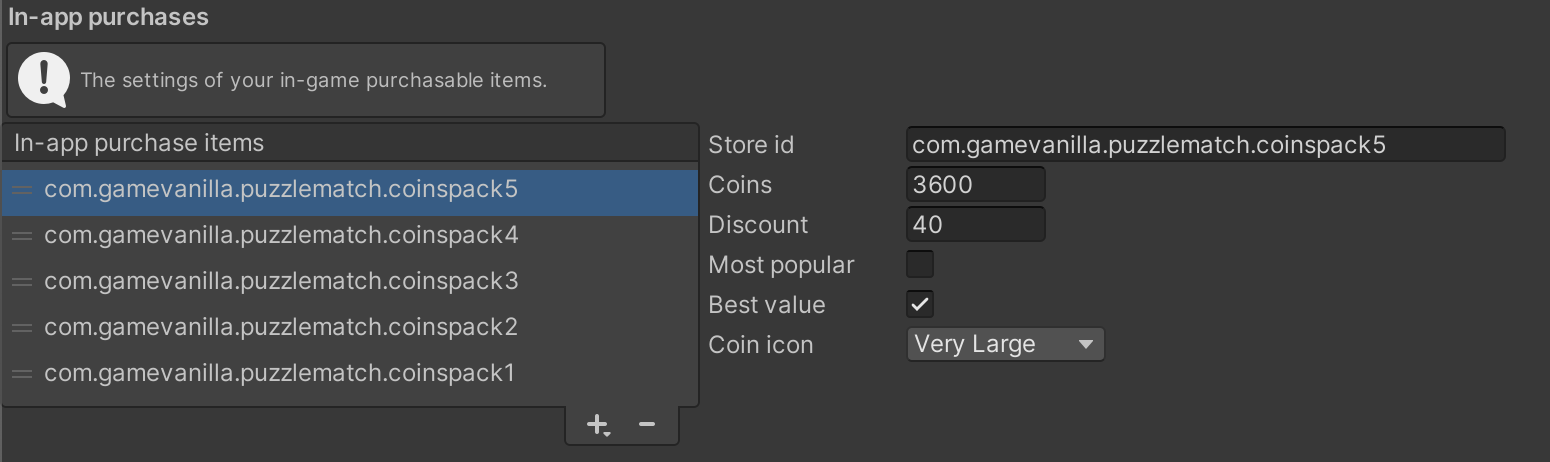
The Store id needs to be exactly the same identifier you use in your store (App Store, Google Play, etc.), while the rest of the fields are only visual. Please note you will need to have previously defined your available in-app purchasable items in the store/s of your choice; the prices are always automatically retrieved from the corresponding store.