Multiple enemies
By default, the kit supports fight encounters with 1 to 2 enemies, but you can easily extend the system to support any additional ones.
Enemies are configured in the MapTracker game object of the Map scene.
![]()
As you can see in the Inspector, you can specify the following lists of enemies:
- Easy enemies: The available regular enemies to use in the Enemy map nodes of the first two layers of the map.
- Hard enemies: The available regular enemies to use in the Enemy map nodes starting from the third layer of the map.
- Elite enemies: The available elite enemies to use in the Elite map nodes.
- Bosses: The available boss enemies to use in the Boss map nodes.
You can customize these rules for your game by modifying the enemy selection logic of the MapTracker script.
The available enemies are specified in Scriptable Object assets named encounter lists that you can create by right-clicking on your Project view and selecting the Single-Player CCG Kit/Encounters/Encounter list option. You can edit the data of an encounter list directly in the Inspector.
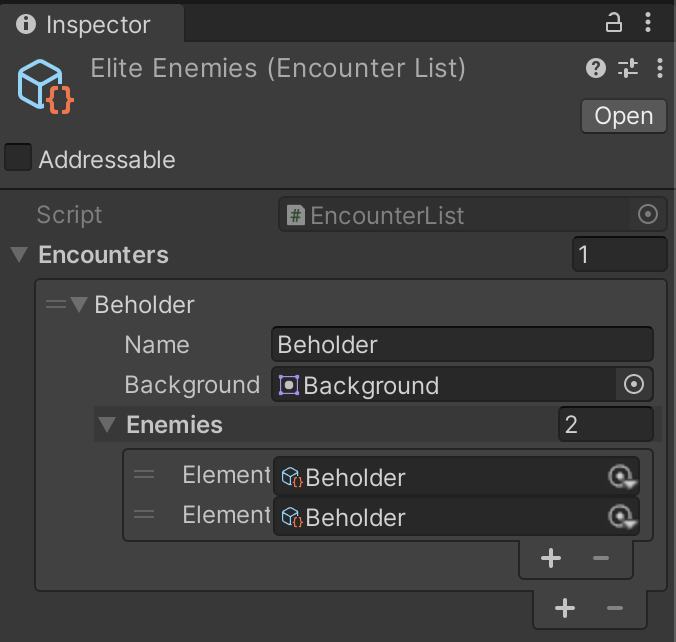
An encounter list consists on a list of encounters, where an encounter is defined by a name, a background sprite and a list of enemy templates. At runtime, a single encounter from the list will be randomly selected for the current map node. All the enemies from the list of enemies will take part in the encounter.
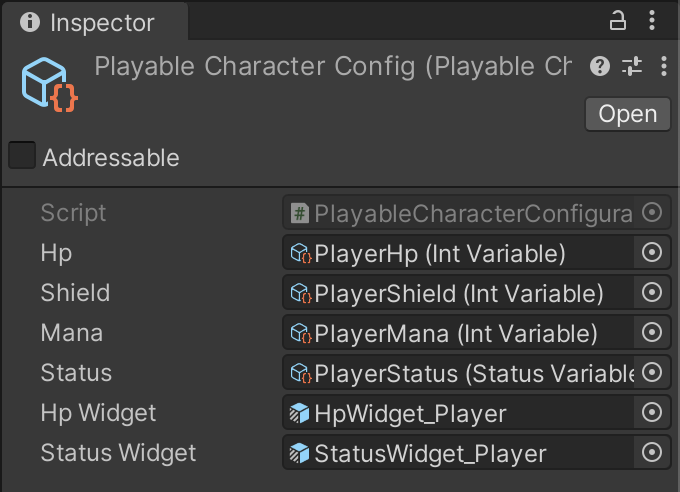
In order to support more than one enemy for a single encounters, there are a few elements at play. The first one of them is the character configuration assets, which are Scriptable Object assets that you can create by right-clicking on your Project view and selecting the Single-Player CCG Kit/Configuration option. By default, the kit uses one player configuration:
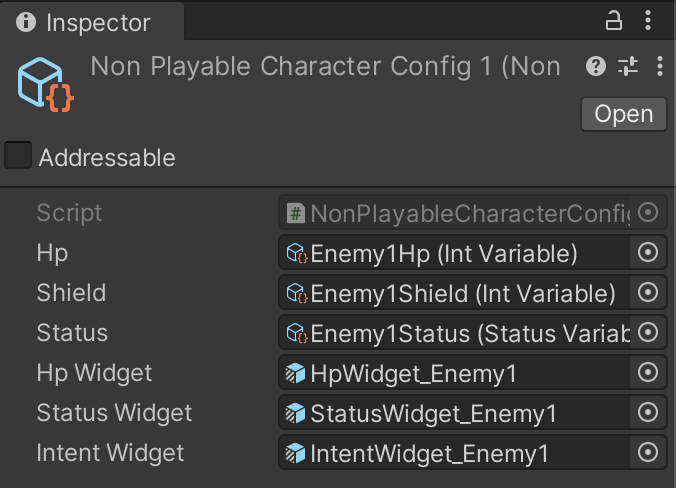
A configuration for the first enemy:
And a configuration for the second enemy:
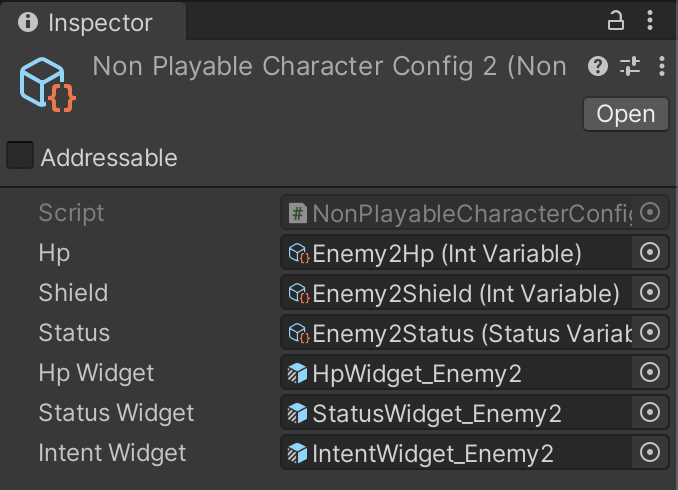
As you can see, every configuration indicates the HP, shield and status variables together with their respective UI prefabs.
The second element is the character pivots in the Game scene:
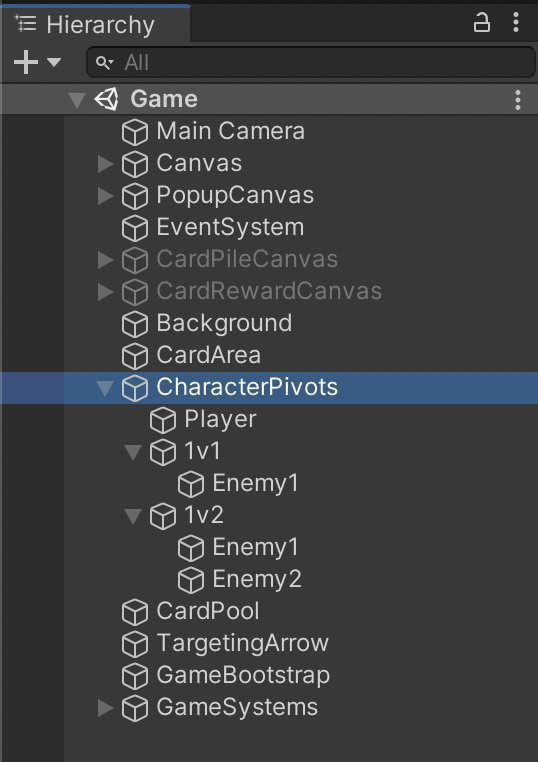
As you can see in the hierarchy, we have empty game objects to indicate the position of the hero and the enemy characters. In the case of the enemies, we have 1v1 and 1v2 groups to handle their positions in encounters with one and two enemies, respectively. You could add additional groups to support groups of 3 and 4 enemies.
The character configurations, together with the positioning game objects, are passed to the GameBootstrap object in the Game scene, which will initialize the encounter accordingly:
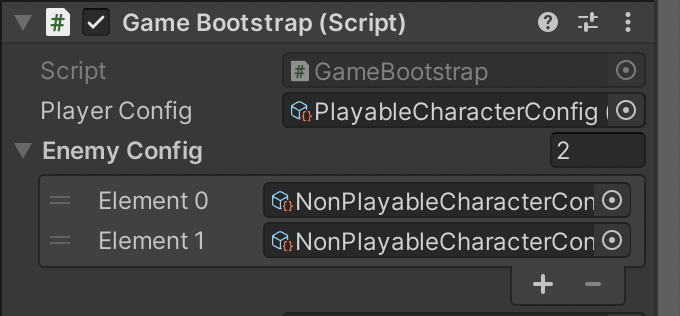
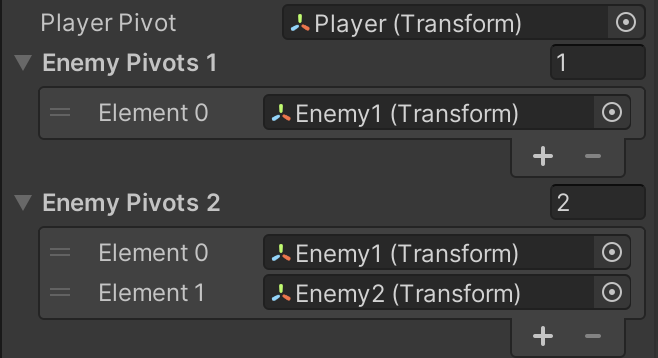
As long as you follow this general structure, you can easily create your own additional configurations and pivots to support more enemies in your encounters.